Guides › Boxridge Snap

How to use Boxridge Snap
Boxridge Snap sits in your system tray. Press a shortcut, grab what you need, and it is on your clipboard and saved to your folder under a name that counts itself.
1Install and try it free
- Download the free trial from the SnapBox page and run SnapBox-Setup. It installs for your user only: no admin password and no Windows prompt.
- Prefer not to install? The portable zip runs from any folder.
- Every feature works for 14 days with no account and no credit card. The settings panel shows how many days are left.
2Take a capture
- Ctrl+Shift+S: the screen freezes with a crosshair. Drag a region, or click a window to snap to it exactly.
- Press Tab to snap to a pane inside a window (a toolbar, sidebar or one panel). Shift+drag makes a square, arrow keys nudge 1 px (Shift for 10 px), Alt+arrows resize, Esc cancels.
- The magnifier shows live coordinates; press C to copy the hex colour under the cursor. F grabs the whole monitor, Ctrl+A everything.
- Ctrl+Shift+W captures a window, Ctrl+Shift+F the screen under the cursor, and Ctrl+Shift+R repeats the exact area you grabbed last.
- Every capture goes to the clipboard and is saved to your folder automatically (both can be turned off).

3Capture a whole web page
- Put the page in front and press Ctrl+Shift+P. Boxridge Snap jumps to the top, scrolls and stitches the entire page into one tall image, then stops by itself at the bottom.
- Ctrl+Shift+E does the same for any region you pick: a long list, a chat, a spreadsheet. Untick “Scroll it for me” to scroll by hand while it stitches, then press Finish.
- It works in any app that scrolls, not just browsers, and ignores sticky headers and toolbars.
4Mark it up
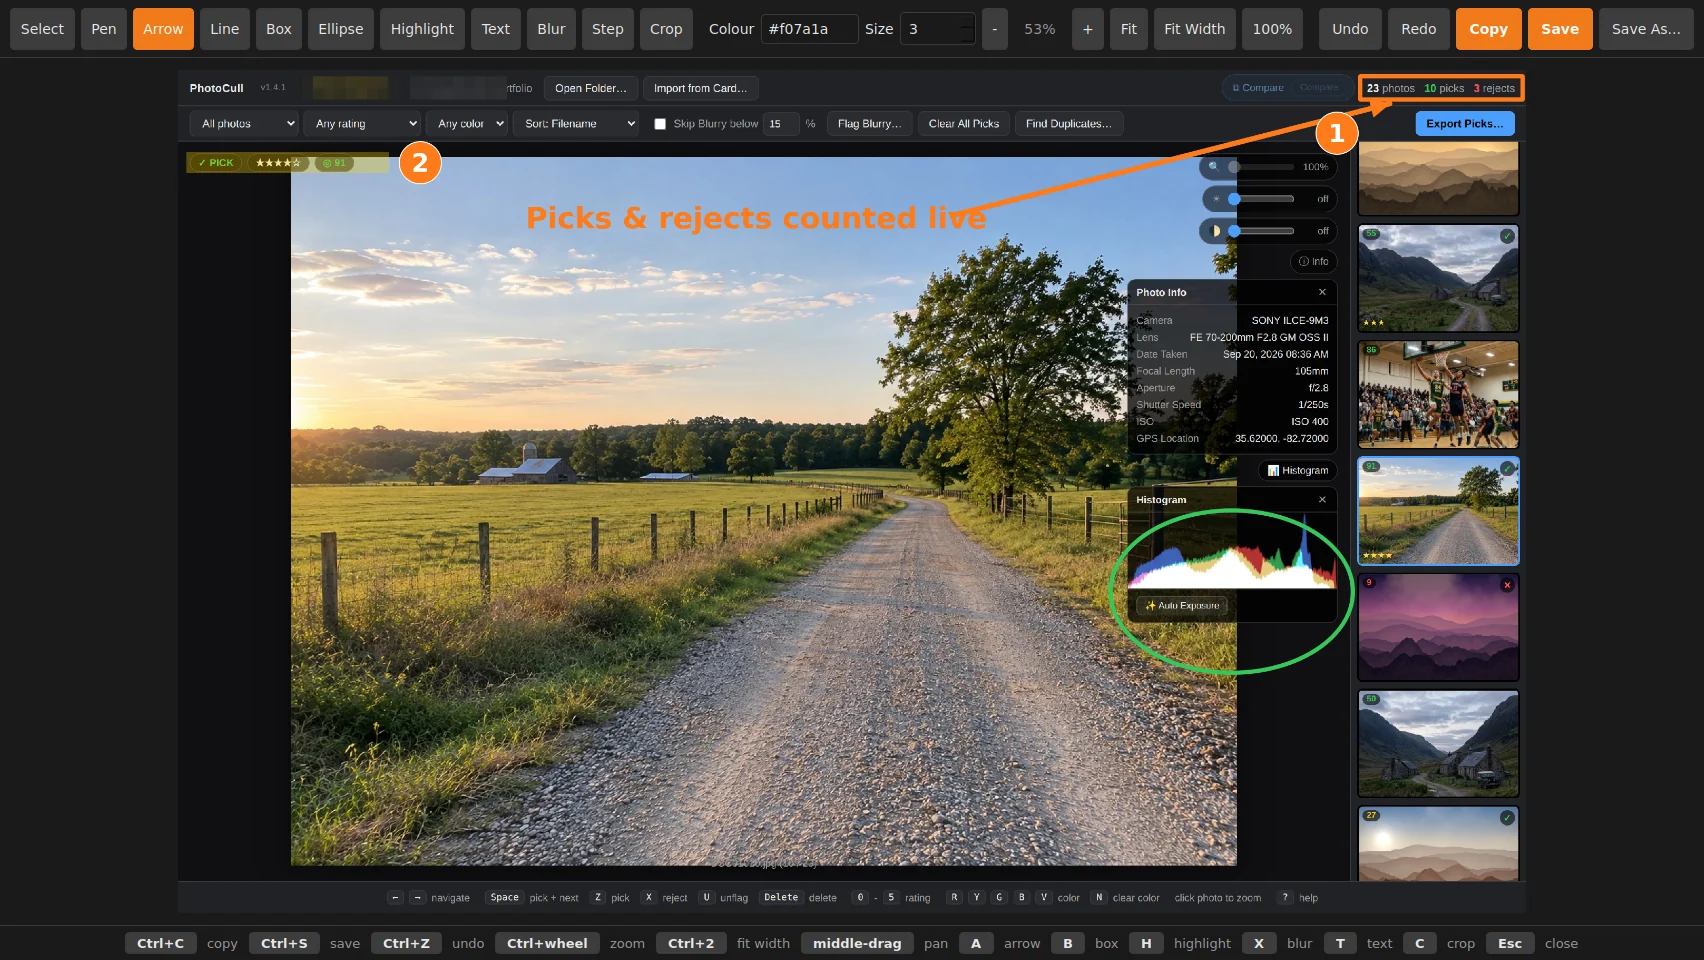
- Double-click a capture in Recent captures to open the editor.
- Tools: Pen, Arrow (A), Line, Box (B), Ellipse, Highlight (H), Text (T), Blur/pixelate (X), numbered Step (N) and Crop (C). Pick the colour and size in the toolbar.
- Long captures open fit-to-width. Ctrl+wheel zooms at the pointer, middle-drag pans; Fit (Ctrl+0), Fit Width (Ctrl+2) and 100% (Ctrl+1).
- Ctrl+C copies, Ctrl+S saves, Ctrl+Z / Ctrl+Y undo and redo. You can also pin a capture on top of every window.
5Name and file your captures
- Under Saving, choose any folder, and optionally put each day’s captures in a dated subfolder (for example 09-27-2026).
- Pick a file name preset or type your own pattern. {n} is a counting number: {n:3} gives 001, 002, 003, so Job_{n:3} makes Job_001.png, Job_002.png…
- Date pieces work too: %Y %m %d %H %M %S. The line under the pattern previews the next file name.
- The counter never reuses a number, even if a file with that number is already in the folder. Reset to 1 when you start a new job.

6Manage your captures
- Select captures in the gallery and use Open, Copy, Show in Folder or Delete. Enter opens, Ctrl+C copies, Del deletes; Ctrl or Shift selects several.
- Deleted captures go to the Recycle Bin, so a mistake can be undone.
- Drag a thumbnail straight into an email, a chat or an upload box.
7Enter your licence key
- Buy Personal, Pro or Site on the Boxridge Snap page. Your key is shown right after payment, emailed to you, and kept in your account.
- In Boxridge Snap click Enter licence key (in the settings panel, the tray menu or About), then paste the whole block from -----BEGIN to END----- or load the .key file.
- Boxridge Snap activates the key online the first time (Personal and Pro cover 3 of your PCs, Site covers 25), then checks about once a month and keeps working offline in between. Remove licence frees a PC for another one.
8Make it comfortable
- Boxridge Snap matches your Windows display scaling, and re-sizes as you drag it between screens with different scaling.
- A- and A+ in the toolbar (or Ctrl+- and Ctrl++) set your own size, from 75% to 200%.
- Every shortcut can be changed in settings, including Print Screen.
Keyboard shortcuts
| Ctrl+Shift+S | Region |
| Ctrl+Shift+W | Window |
| Ctrl+Shift+F | Screen under the cursor |
| Ctrl+Shift+P | Whole web page |
| Ctrl+Shift+E | Scrolling capture |
| Ctrl+Shift+R | Repeat last area |
| Ctrl+Shift+H | Show Boxridge Snap |
| Tab | Snap to a pane (while selecting) |
| C | Copy colour (while selecting) |
| Ctrl+wheel | Zoom in the editor |
| Ctrl+0 / 1 / 2 | Fit / 100% / Fit width |
| A B H T X N C | Arrow, box, highlight, text, blur, step, crop |
| Ctrl+- / Ctrl++ | Smaller / larger interface |
Questions
What happens when the trial ends?
Capturing pauses. Your settings, history and saved files stay exactly where they are, and entering a key switches everything back on.
Which edition should I buy?
Personal for your own non-commercial use, Pro if you use it for work or clients, Site to cover everyone at one location.
Can I use Print Screen?
Yes. Type PrintScreen into any shortcut box in settings.
My key says it is not valid.
Make sure you copied the whole block, including the BEGIN and END lines, or use the .key file from your account.
Still stuck? Send us a message and the person who wrote the software will get back to you.